In this quick article, I will show how to setup your domain with SSL on Freehostia.com host using Cloudflare as DNS.
CloudFlare setup
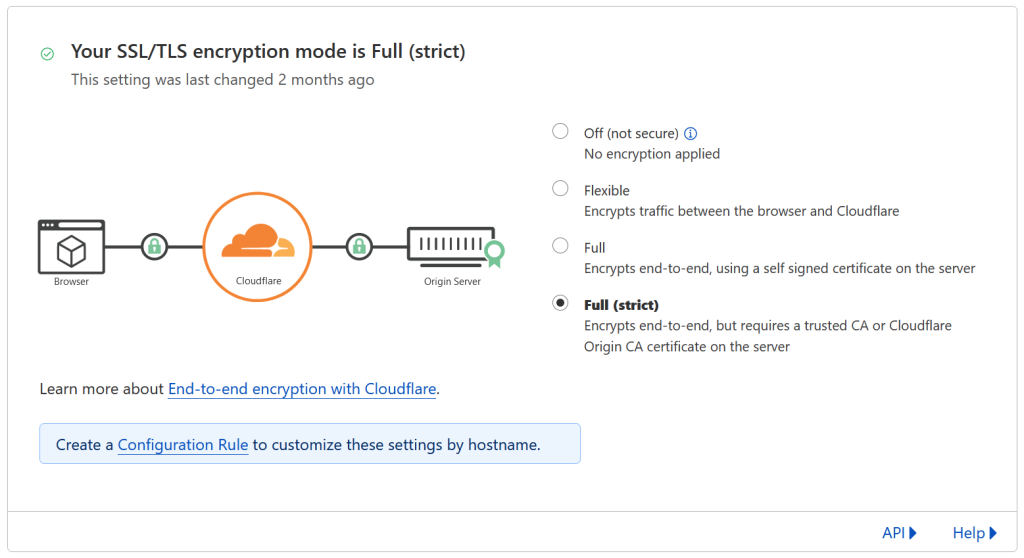
First, make sure your domain is configured with Full (strict) encryption mode.
Go on SSL/TLS > Overview and check it.
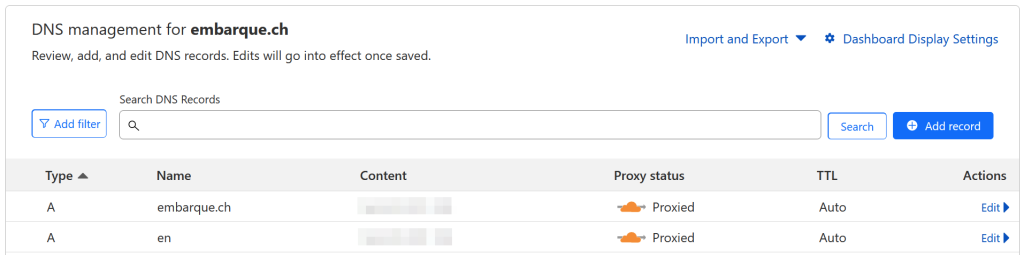
Then you need also to proxy your A fields for the certificate to apply.
Go on DNS > Records and check Proxied for each A field.
CloudFlare certificate generation
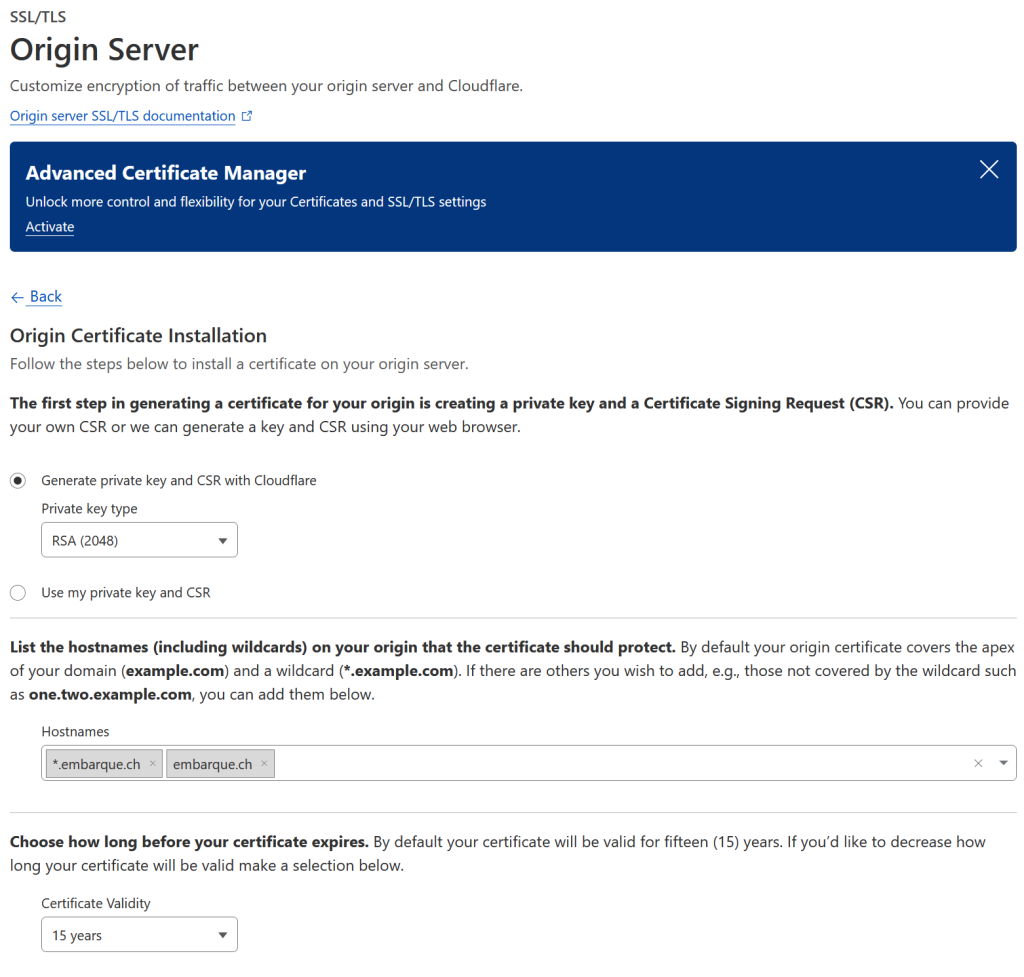
Now generate the private key and a certificate of your server.
Select SSL/TLS > Origin Server then click on Create Certificate.
Keep parameters as default with RSA (2048) and list the hostnames you want to cover.
Then click on Create button.
Generation will create to outputs that you need to save:
- Save Origin Certificate on public_key.pem
- Save Origin Certificate on private_key.pem
CloudFlare Origin CA certificate
Lastly, we need to download CloudFlare Origin CA certificate and save it as: origin_ca_rsa_root.pem
You can always find it here it the CloudFlare documentation.
Freehostia setup
Login on you Freehostia control panel and go on My Domains > SSL Certificates.
One here, click on the gear symbol to configure SSL on your domain.
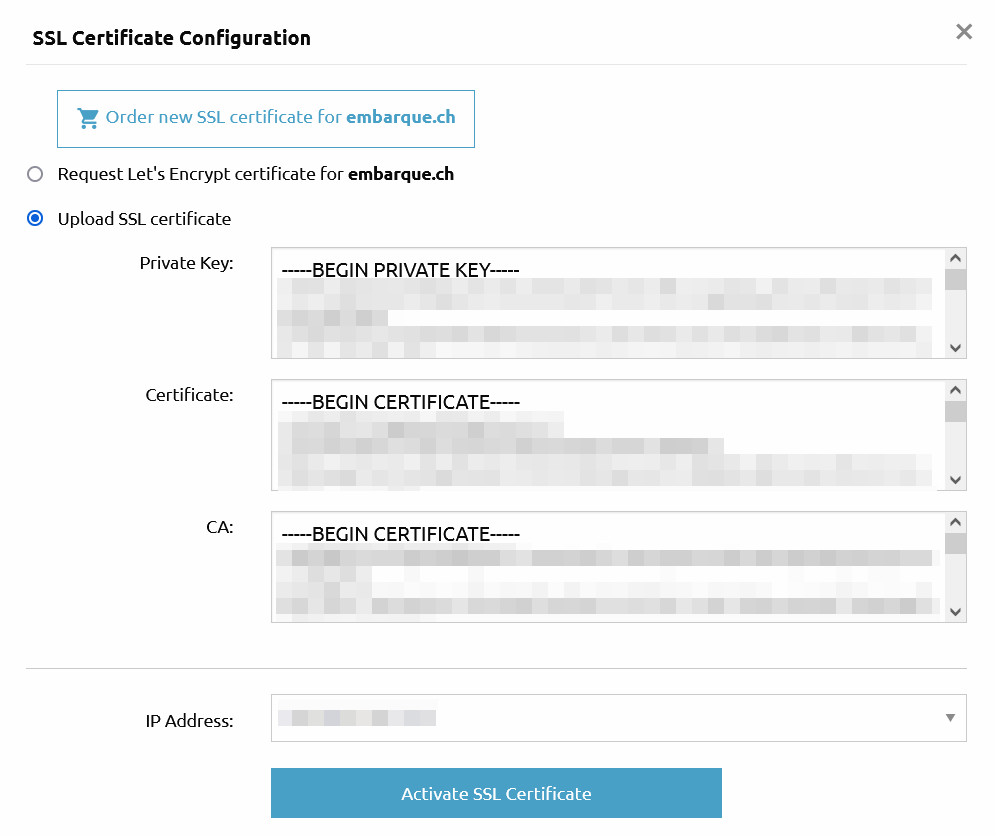
Select Upload SSL certificate and fill the content of the inputs with the followings:
- Private Key with private_key.pem
- Certificate with public_key.pem
- CA with origin_ca_rsa_root.pem
Now click on Activate SSL Certificate and your SSL configuration is now done.